How to schedule your first pipeline
Run recurring workloads using Data Pipelines' built-in scheduler
Data Pipelines provides a built-in scheduler that can run your pipelines at desired intervals.
A pipeline can have any number of schedules associated with it. Schedules (like pipelines) belong to your organization so they will continue running if the user who created them is removed (eg. when an employee leaves).
To schedule a pipeline, do the following:
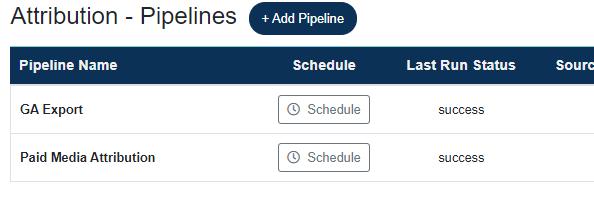
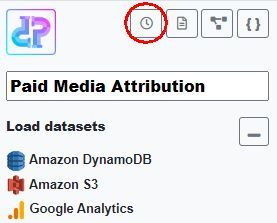
Once your pipeline is built, click the Schedule button in Dashboard view,
or Pipeline Builder view.
Note, you can only schedule a pipeline if it has at least one table added. You may schedule pipelines with zero steps. This is useful when you just want to migrate or load data without applying any transformations.
In Schedules view, the current schedules as well as recent successful runs for the selected schedule are also displayed.
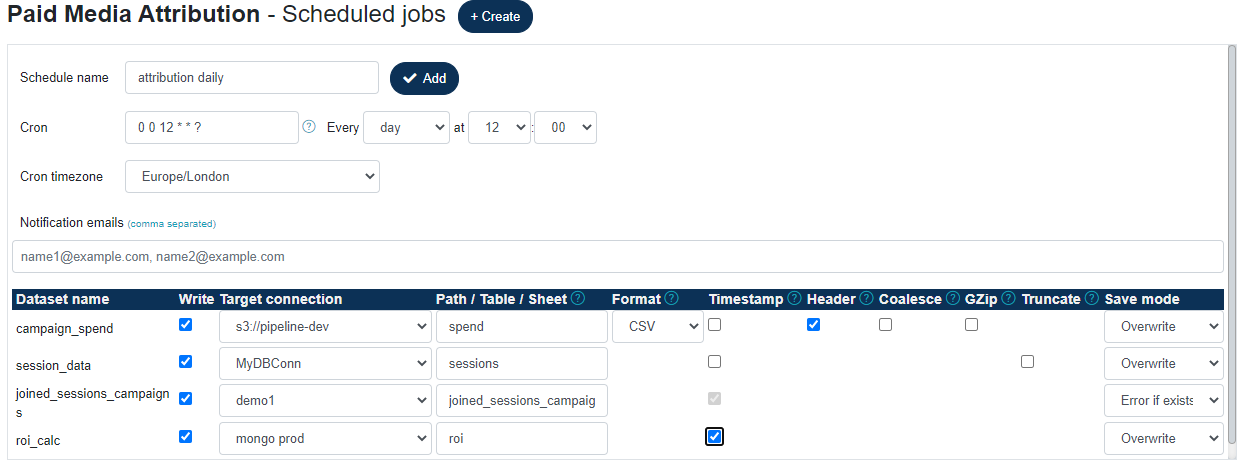
Configure your schedule as follows:
- Schedule name: name of your schedule, can be anything.
- Cron: the
cronexpression for the desired interval in Quartz format. You may use the built-incronbuilder or use an external one to build more complex ones. - Cron timezone: defaults to your timezone as configured in you Account.
- Notification emails (optional): A comma separated list of emails to notify on job complete (success and failure).
- Datasets: datasets to output. Multiple datasets can be written out from a single scheduled run. In the example above all four datasets have been selected to be written, each to a different destination. Depending on the type of target connection, some write options may not be available.
Currently, the following write options are available :
- Write: whether to output the dataset. If not selected, the dataset will not be output.
- Target connection: the connection to write the dataset to. Choose a writable data connection that you previously configured under Data Connections.
- Path / Table / Sheet: Depending on the type of data connection, this value may be a table name, collection name, AWS S3 path or Google worksheet.
- Format: file format. Only applicable to file-based connections (AWS, Hadoop). Currently the following formats are supported: CSV, Parquet, ORC, JSON, Avro
- Timestamp: whether to append the current timestamp to the table / sheet name, in ISO format:
<name>_yyyyMMddThhmmss. For example, the table name attribution will becomeattribution_20210507T063000. This feature is useful for creating new output every day, instead of overwriting the previous run's output. - Header: applicable to file formats only. Whether to output the column headers.
- Coalesce: applicable to file formats only. By default, the underlying Spark engine may create more than one partition file. By selecting this option, all partitions will be coalesced into a single file. This may affect performance.
- GZip: applicable to file formats only. Whether to
gzipthe output. - Truncate: applicable to database connections only. If this option is selected, the target table will be truncated (all rows deleted) instead of dropped. This makes it possible to preserve the target table's existing schema.
- Save mode: What to do if the output already exists. Not all options are applicable to some connection types. Possible options are:
Overwrite: overwrite existing table or file
Error if exists: pipeline run fails
Ignore: do nothing
Append: append output to existing